Creating Buttons
Posted: April 28th, 2009, 4:19 pm
This is about how to create the button images you use in Rainmeter with code like this:
[MeterSample]
Meter=BUTTON
X=1
Y=1
ButtonImage=MyButton.png
ButtonCommand=!Execute ["SomeCommand"]
Buttons are a special kind of Meter in Rainmeter, and require a special kind of image. Rainmeter, like Windows, wants a button to have three "states". "UP", "DOWN" and "OVER", or "When your mouse isn't on the button", "When you are clicking on the button" and "When you are hovering over the button".
Create the images in Photoshop, Gimp, Paint.NET, whatever you like. It's VERY helpful if the tool has the capability to create "layers" however.
Create a new image with a transparent background which has the "HEIGHT" of the image you want for the button, and a "WIDTH" which is three times the width of the image. This is because Rainmeter will want to find three horizontal versions of the image in the file; one for "UP", one for "DOWN" and one for "OVER" - in that order.
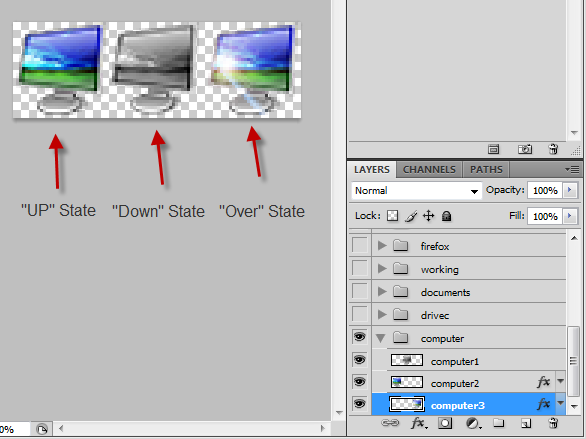
Each of the layers can have a different visual appearance (and positioning if you want the button to "move" when clicked) so that when you use the button it is clear what state the button is in. I desaturated the "DOWN" state and added a "lens flare" to my "OVER" state.
Save the image as a .png (for a transparent background) or .jpg (solid background)
When you use the button in your code, Rainmeter chooses the 1/3 of the overall image to display depending on the state of the button.
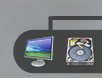 UP
UP
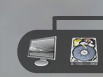 DOWN
DOWN
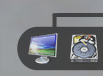 OVER
OVER
Hope this is of some help for those just starting to look at buttons for your skins.
[MeterSample]
Meter=BUTTON
X=1
Y=1
ButtonImage=MyButton.png
ButtonCommand=!Execute ["SomeCommand"]
Buttons are a special kind of Meter in Rainmeter, and require a special kind of image. Rainmeter, like Windows, wants a button to have three "states". "UP", "DOWN" and "OVER", or "When your mouse isn't on the button", "When you are clicking on the button" and "When you are hovering over the button".
Create the images in Photoshop, Gimp, Paint.NET, whatever you like. It's VERY helpful if the tool has the capability to create "layers" however.
Create a new image with a transparent background which has the "HEIGHT" of the image you want for the button, and a "WIDTH" which is three times the width of the image. This is because Rainmeter will want to find three horizontal versions of the image in the file; one for "UP", one for "DOWN" and one for "OVER" - in that order.
Each of the layers can have a different visual appearance (and positioning if you want the button to "move" when clicked) so that when you use the button it is clear what state the button is in. I desaturated the "DOWN" state and added a "lens flare" to my "OVER" state.
Save the image as a .png (for a transparent background) or .jpg (solid background)
When you use the button in your code, Rainmeter chooses the 1/3 of the overall image to display depending on the state of the button.
UP DOWN OVERHope this is of some help for those just starting to look at buttons for your skins.
